Rebuilding my winch
I finally got around to buying a winch some time ago, $500 for a Warn 8274. What a deal, with nothing short of a miracle I was able to convince my wife to part with the money. Even though it was showing it's age it was still worth it. I had it mounted on the jeep for a short time before our last Rubicon trip and on the way up North I purchased a desperately needed new cable from Brad Kilby and installed it at Brad Dokkens house. That bad boy performed flawlessly through the whole...didn't use the damn thing once, it just sat there and looked nice. Anyway, this monster of a winch had been causing my Jeep to overheat so it was removed and sat in my garage for sometime. One day I was out in the garage admiring my mess when I noticed that thing setting there next to a wire wheel conveniently attached to a drill. Hmmm, I said to myself as I picked up the drill and ran it across the winch housing. Boy that sure did clean up nice, then I realized my mistake. I had cleaned up a small section and had it looking good but I couldn't get to the rest of it because of some of the external parts. Maybe if I just pull the motor off I can get the rest of it. I pulled the motor and was able to get another section of the top. Oh well, I guess I am too far along to stop now. I tried for about two hours to get the clutch wheel off, I finally got it off with a gear puller...that didn't feel good. If you ever take that clutch off of a winch be aware that there are about fifteen loose bearings in there that I am sure you don't want to spend an hour searching a messy garage for. Trust me! Skipping past all of the cleanup, I was admiring my clean winch casing when my eyes wandered to a can of red spray paint on the bench. Hmmm I said to myself as I glanced over to the red Jeep sitting in the driveway, what the hell I can always clean it off again if I don't like it. I grabbed a can primer and started spraying every piece I could get my hands on, I think I actually like it. We'll have to see what it looks like once it's finished...
View the schematics and part numbers for the 8274. This document is in PDF format so you will need Acrobat Reader to view it.
There is much more to come in this section since this is a current project.
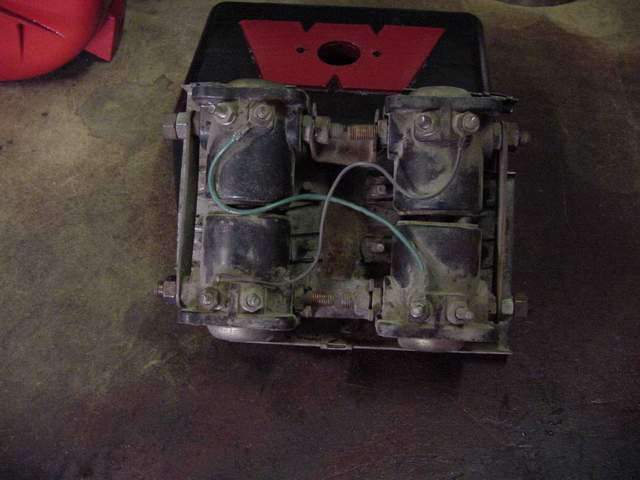 |
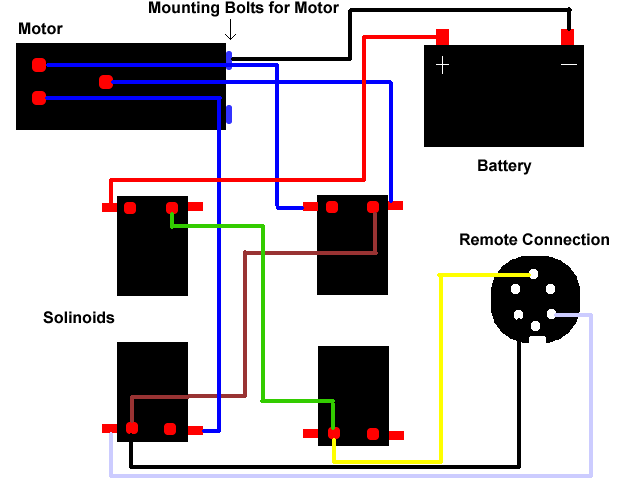
Here is a shot of the solinoids, this is where all of the electrical connections for the winch are made. Take a look at the wiring diagram. |
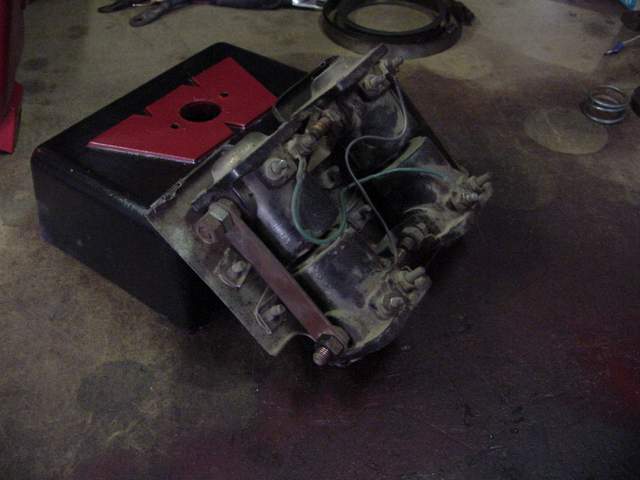 |
Another shot |
 |
Here are the old cables that ran from the motor to the solinoids. Next to each one are the new cables that I made to replace them. |
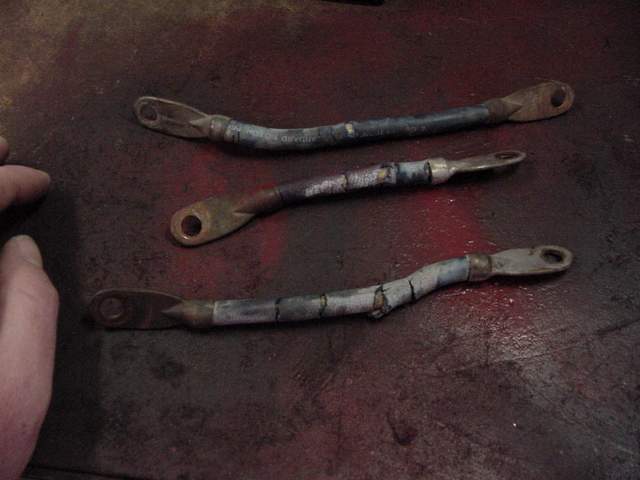 |
Here you can see the sad state that the cables were in. |
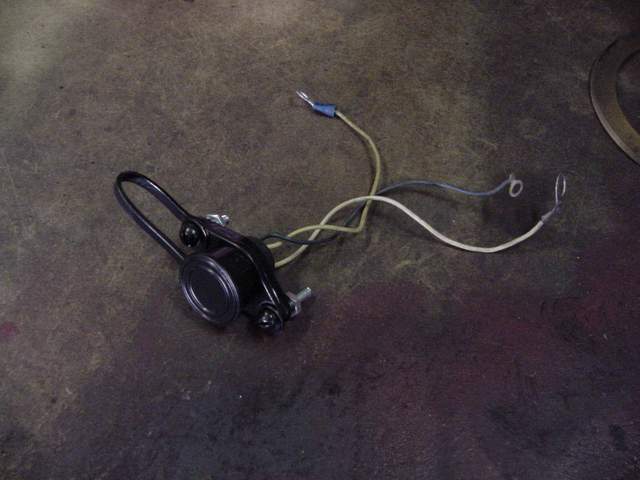 |
This is the remote connector that bolts onto the solinoid cover and connects to several locations on the solinoids. |
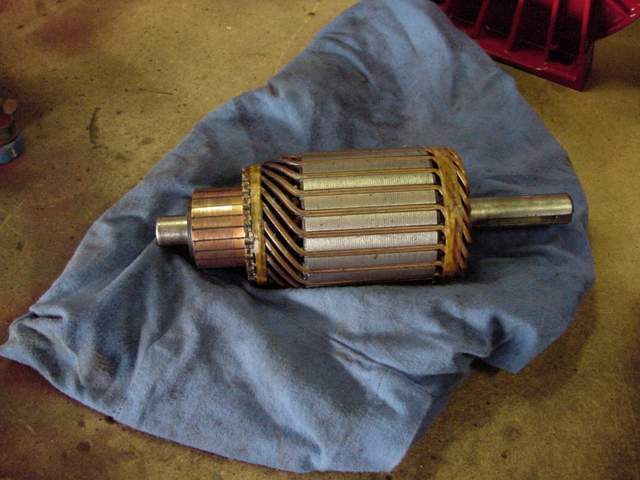 |
This photo is of the brushes that go inside of the winch motor. When you remove the motor from the housing the brushes may fall out so be careful. It is somewhat difficult to get it all back together. More on this a few pics down. |
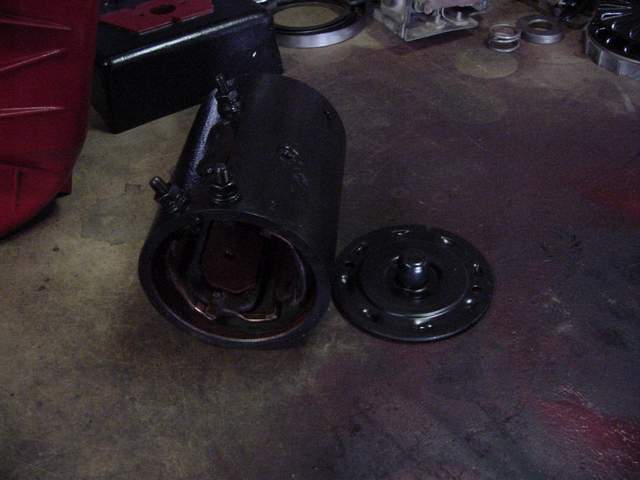 |
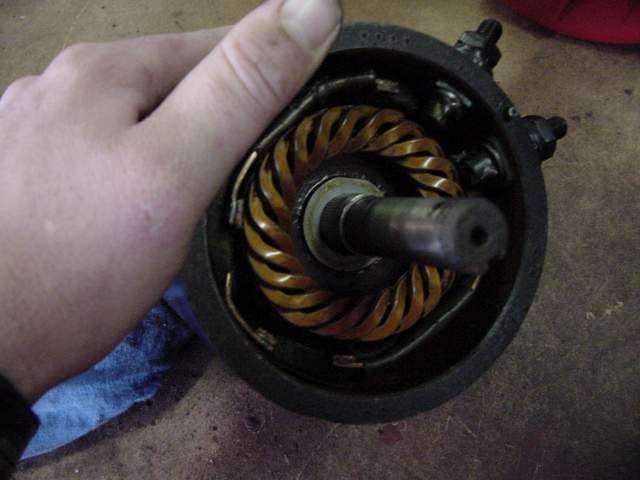
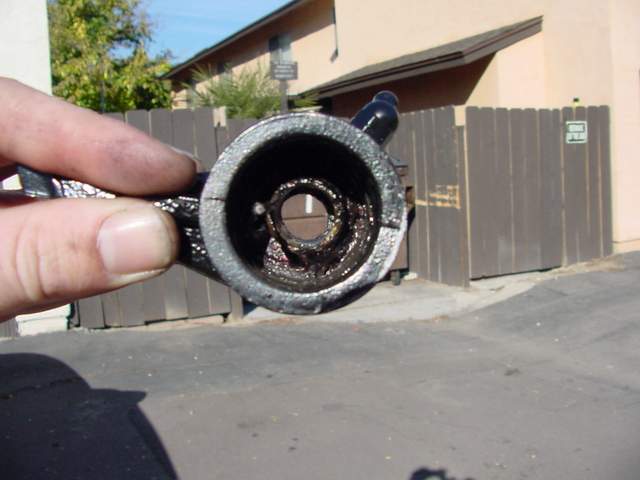
The empty motor housing and end plate. |
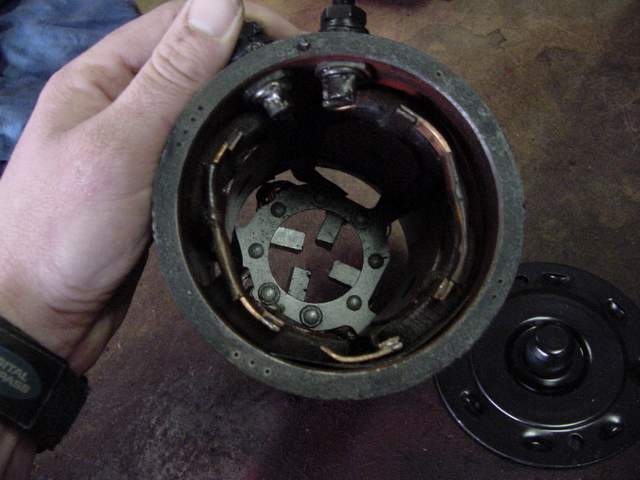 |
The inside of the motor housing looking from the housing side. |
 |
This a shot of the motor housing from the cover plate end. Notice the four contacts that are protruding into the center. All four of them are sprung and must be moved to the outside of the housing through the guides before the brushes will go all the way in. |
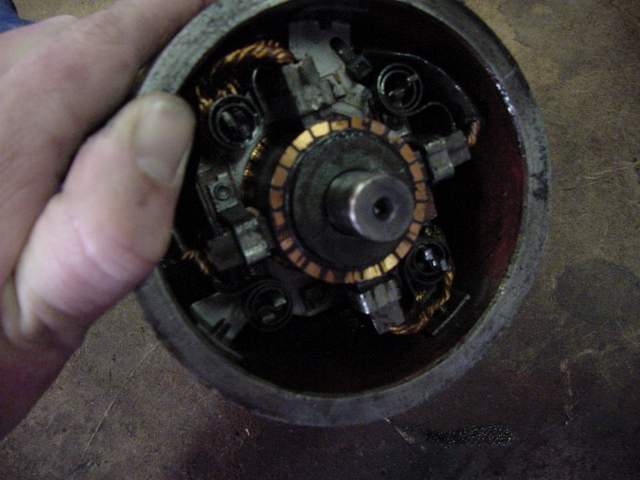 |
Here is what it will look like once everything is in place as it should be. |
 |
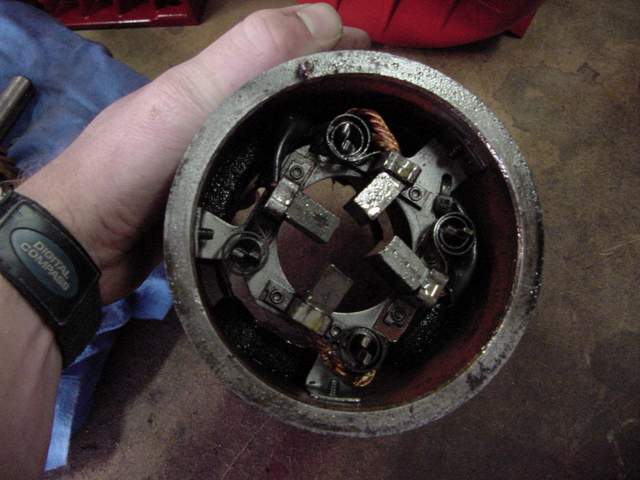
The housing side of the motor with the brushes in place. |
 |
The motor with the end plate in place. |
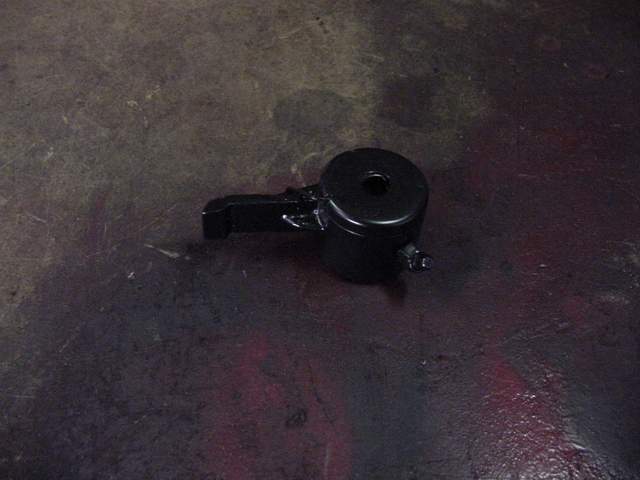 |
Brake catch. Notice the grease fitting. |
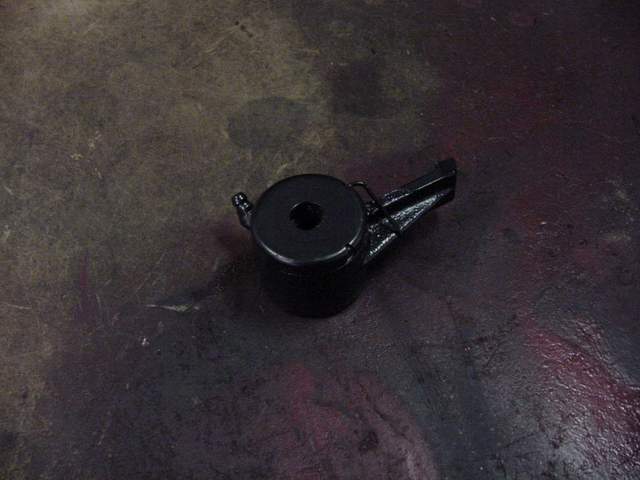 |
Brake catch |
 |
The inside of the brake catch showing the tension spring. |
 |
The brake catch in place on the housing. Before the pieces of the brake are re-installed the catch needs to be installed and then rotated so that there is tension in the spring. Here is a short video clip me me applying tension to the catch. |
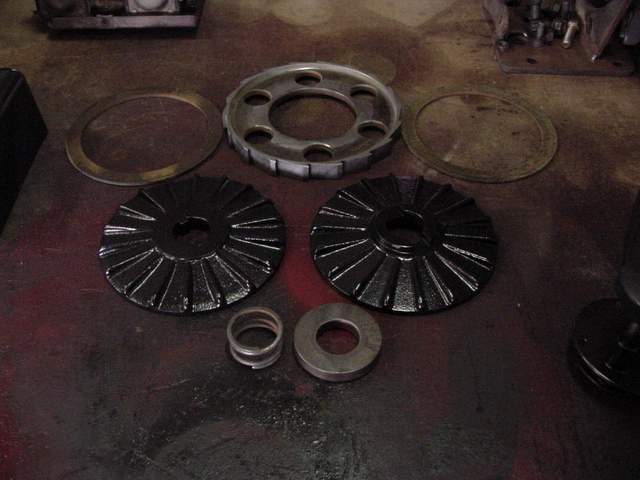 |
These are all of the pieces of the brake system, minus the bearing which I didn't want to lose again. I will place more pictures and maybe a few video clips here when i re-install all of this. |
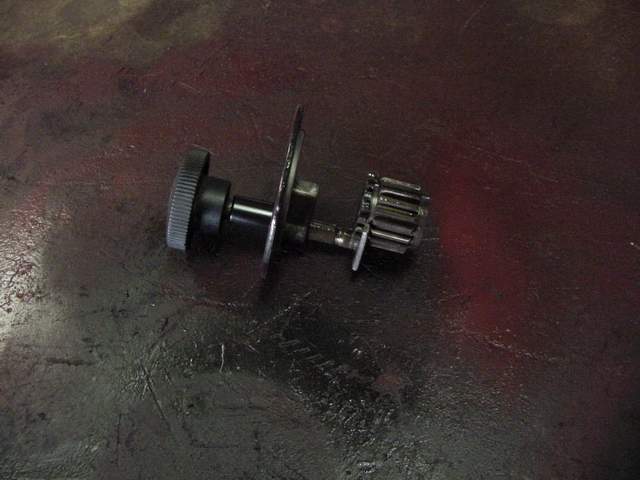 |
This is the clutch assemply, pulling the knob out will allow the drum to free spool and pushing it in will lock the gears together for use. |
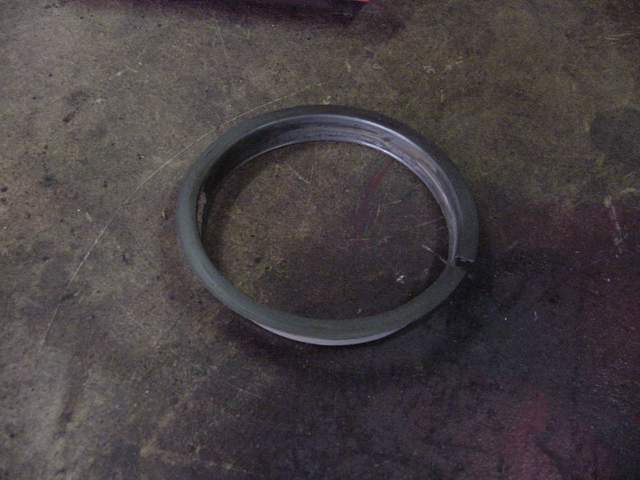 |
This is the outer drum bushing. It isn't in the greatest condition but I decided to leave it since it is fairly easy to get to when everything is together. |
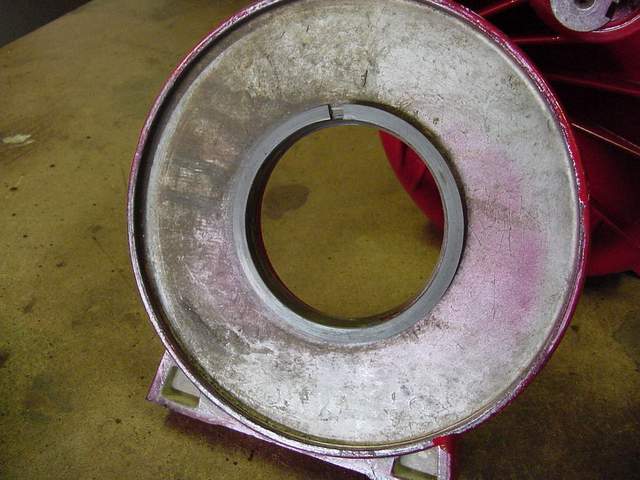 |
This is where the outer drum bushing rests in the outer housing plate. |
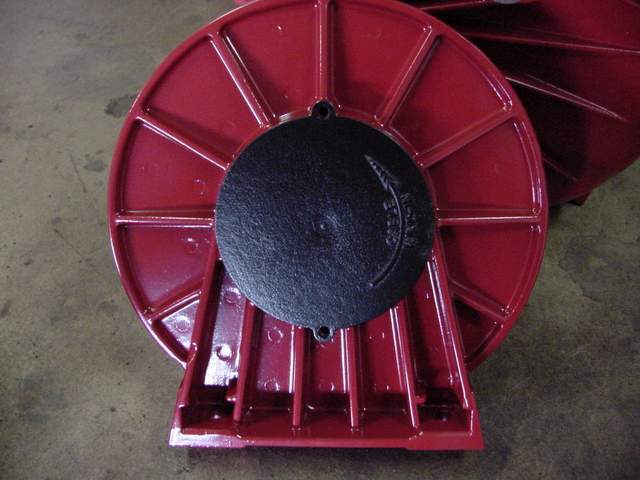 |
The outer housing plate with the drum access cover in place. |
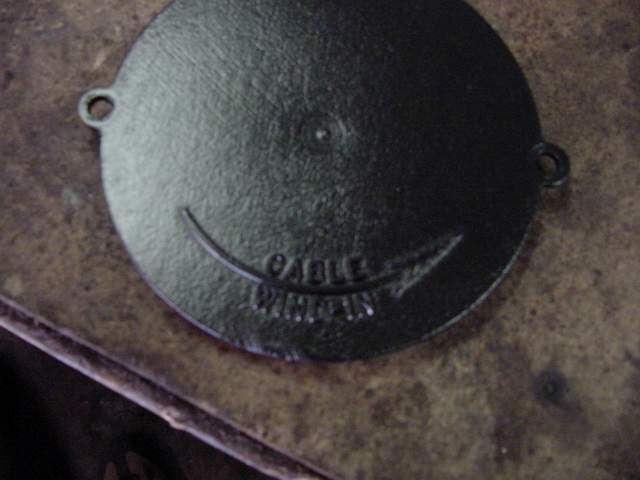 |
Directional arrow on the drum access cover. Just so you don't make a mistake when you spool the cable. |
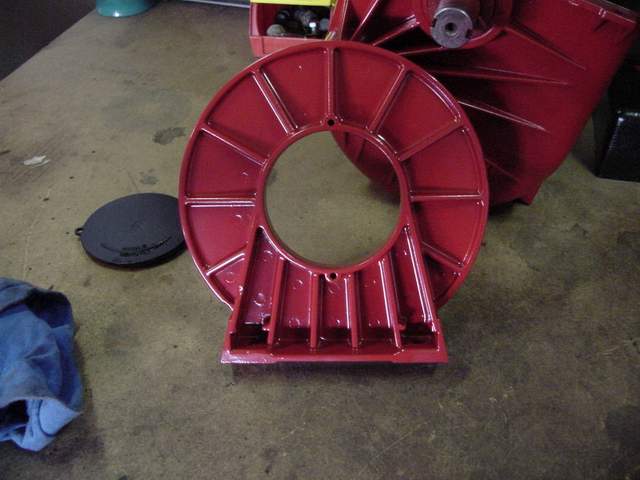 |
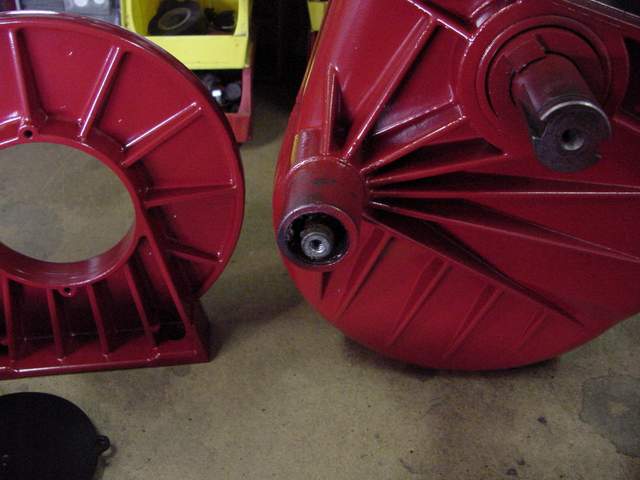
The outer housing plate. |
 |
This is the lower housing and the outer housing plate. You can see mounting point for the brake catch in this shot. |
 |
The gears resting in the lower housing. If you look at the full size image you will see a retainer plate between the gears and the housing on the left. |
 |
If you pull the plate up (it can't be removed at this point) it will allow you to remove the drum from the housing. |
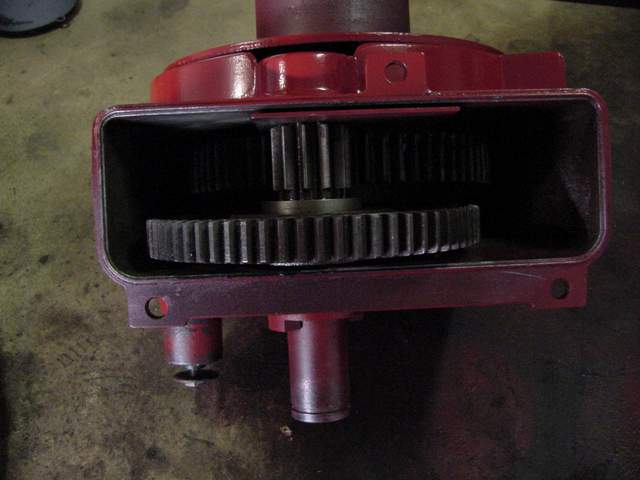 |
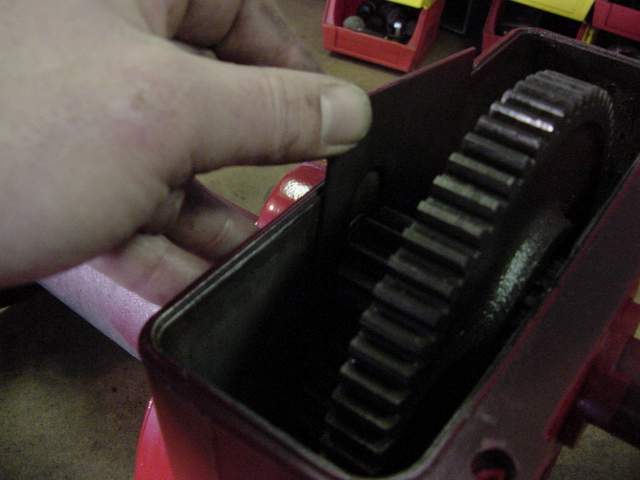
Here is a shot of the gears in the lower housing from above. You can clearly see the retainer plate in this one. To remove the upper gears would require the brake assembly shaft to be removed. I opted not to go that far. Also just barely visible is the lower gear that connects to the drum. |
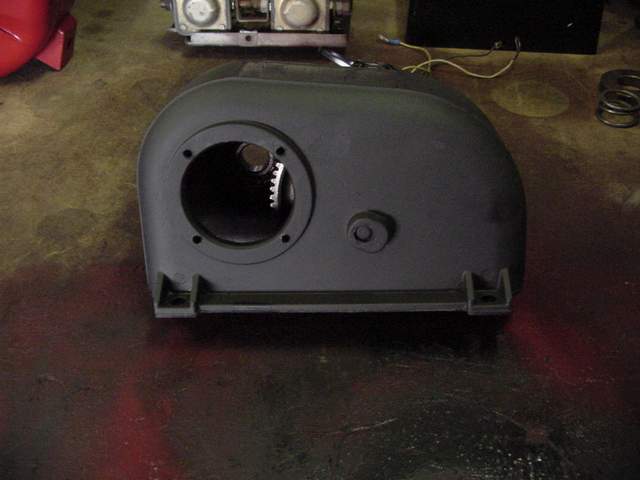 |
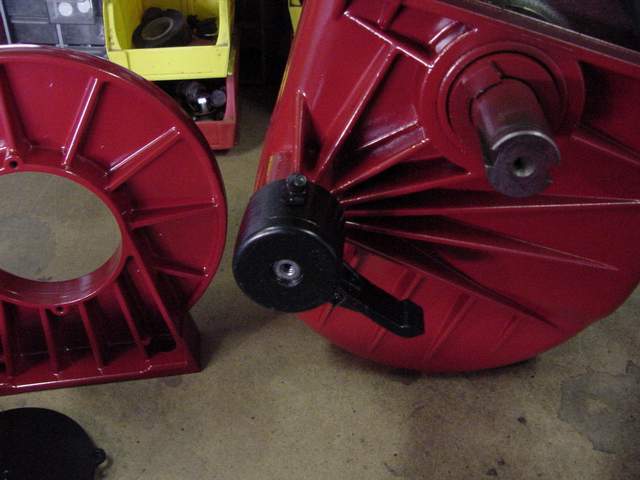
This is an view of the upper housing. The whole on this side is where the clutch assembly attaches. This piece is still in the primer stage. |
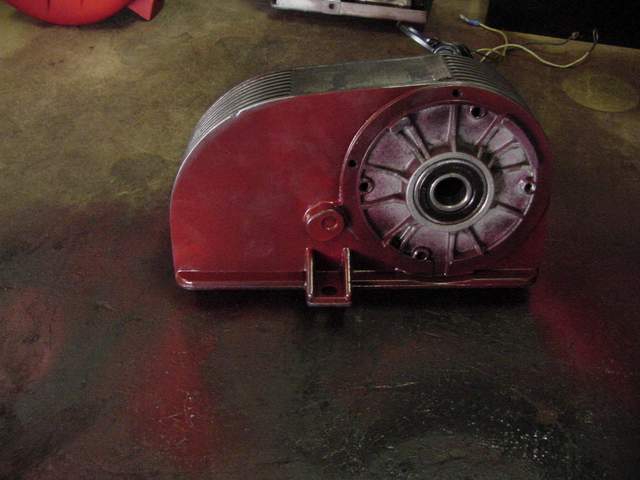 |
This is the other side of the upper housing. The round area with the sealed bearing in the center is where the motor mounts. |
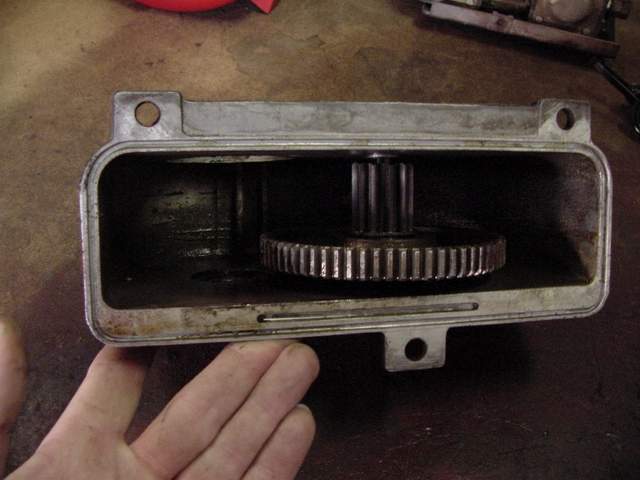 |
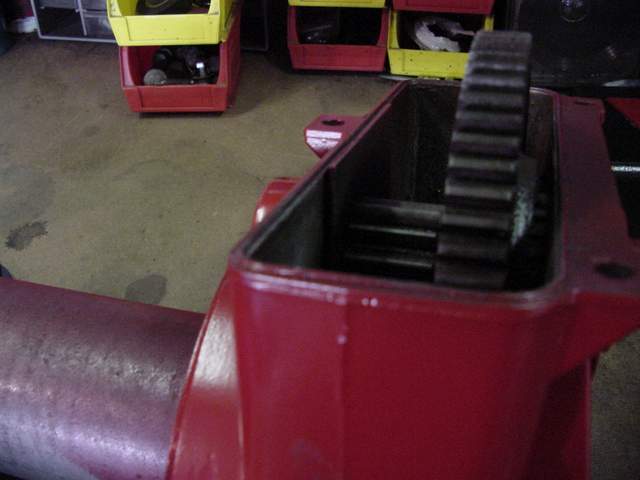
This is an iside shot of the upper housing that shows the gears. These gears are non-removable. |